Overview
Community Builder Auto Actions interface. Please keep in mind that come concepts realted to this section require advanced understanding of how Community Builder event triggers work.
Description
In this screen you have the ability to create, configure and manage automated action tasks that are triggered when specific (selectable) events take place.
How to access
You can access the Community Builder Auto Actions page by clicking on the top menu bar, Components → Community Builder → Plugin Management or Community Builder → Plugin Management and then locating the CB Auto Actions row in the Plugin Management table to click on the Auto Actions button. You can also access the CB Auto Actions plugin parameters by clicking on the CB Auto Actions name link and locating the Global and Parameters tabs.
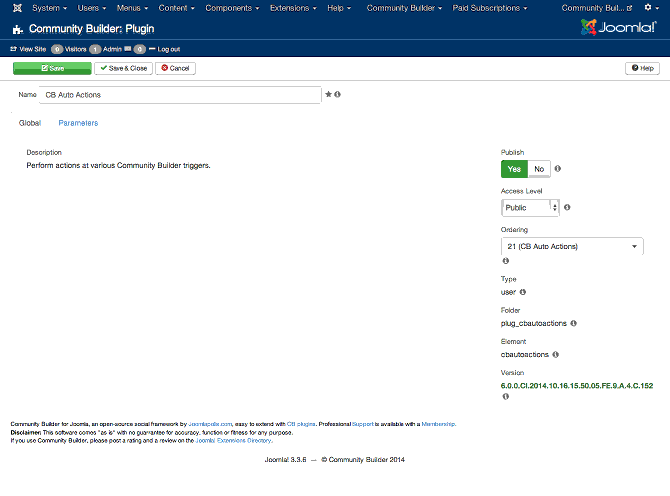
Plugin Global tab
The CB Auto Action plugin has the standard set of global parameters (like any other CB Plugin):
- Name.
- Description.
- Publish.
- Access Level.
- Ordering.
- Type.
- Folder.
- Element.
- Version.
Screenshot
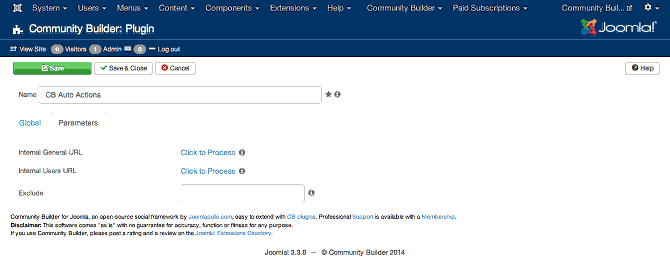
Plugin Parameters tab
The CB Auto Actions plugin has the following extra settings in its Plugin Parameter tab:
- Internal General URL.
- Internal Users URL.
- Exclude.
Screenshot
Screenshot (Auto Actions)
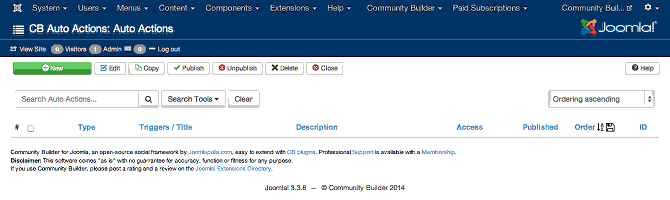
Column Headers
In the table containing the Community Builder Auto Actions, you will see different columns. Here you can read what they mean and what is displayed in that column.
- Type. This is the type of action that has been created. Auto Action types can be set to one of the following:
- CB Activity
- AcyMailing
- CB Antispam
- CB Blogs
- CB Paid Subscriptions
- Code
- Connection
- Content
- Field
- CB GroupJive
- CB Invites
- K2
- Kunena
- Login/Logout
- CB Menu
- Private Message
- CB Privacy
- Redirect
- Registration
- Request
- Usergroup
- Title. The title name of the auto action.
- Description. The description of the action.
- Access. The access level that the action is applicable to based on the following available options can be multi-selected:
- Customer ACL
- Everybody (default)
- All Non-Registered Users
- All Registered Users
- All Non-Moderators
- All Moderators
- CMS ACL
- Public
- Guest
- Manager
- Administrator
- Registered
- Author
- Editor
- Publisher
- Super Users
- Customer ACL
- Published. Whether the action is published or not..
- Order. The order id of an action.
- ID. This is a unique identification number for this item assigned automatically. It is used to identify the item internally, and you cannot change this number. When creating a new item, this field displays 0 until you save the new entry, at which point a new ID is assigned to it.
Toolbar
At the top you will see the toolbar:
![]()
The functions are:
- New. Opens the edit screen to create a new user.
- Edit. Opens the edit screen for the selected user. If more than one user is selected (with checkboxes), only the first user will be opened. The edit screen can also be opened by clicking on the Name of the user.
- Copy. Copy selected item(s).
- Publish. Publish selected item(s).
- Unpublish. Unpublish selected item(s).
- Delete. Deletes selected item.
- Close. Closes this page and returns to previous page.
- Help. Opens this help screen.
- Permissions. Opens the Joomla permissions settings screen for this area.
Search Tools and Sorting
Under the toolbar you will see the search tools and sorting toolbar:
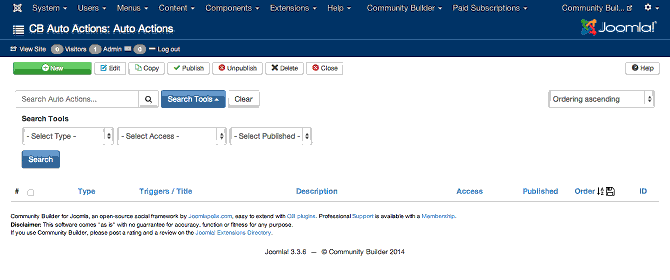
The filters for the Search Tools set are:
- Select Type. Use to filter based on online or offline status.
- Select Access. Use to filter users that belong to a specific group.
- Select Published. Finds users with banned CB profiles.
To the right of the Search Tools button, there is a drop down sorting order field that is by default set to 'Id ascending'. You can sort the table by selecting a different value from this drop down field, or you can just click on one of the table column names to force sorting.
Clear Button
The Clear button to the right of the Search Tools button is used to bring the page back to its default view. Clicking on the Clear button will revert sort order and clear filtering parameters.
Quick Tips
TBS
Prerequisites
This page is only available if you have installed the CB Auto Actions plugin that is available to paid members.
Related information
- TBS


