Note this tutorial is out of date. Please see this forum topic for latest instructions.
All URLs needed for this tutorial are provided within CB > Plugin Management > CB Connect > Configuration > Facebook > Application
STEP 1
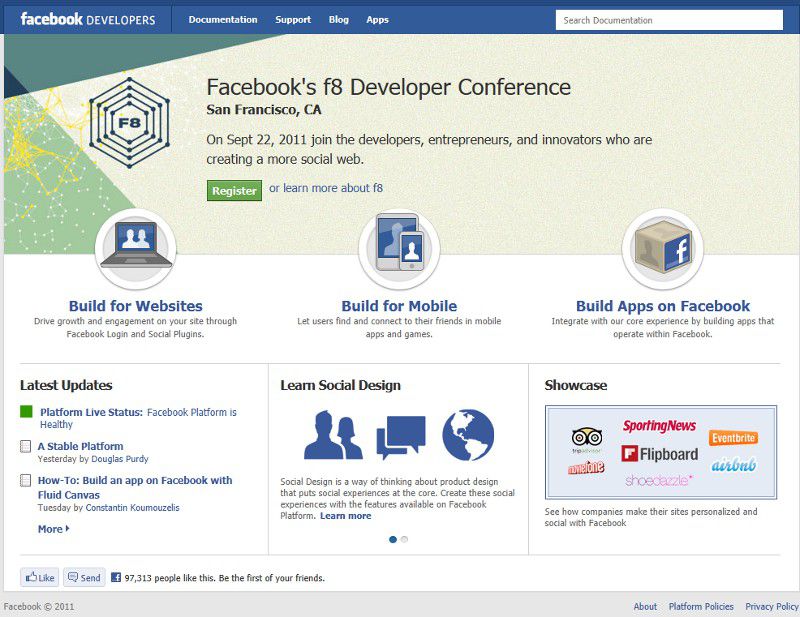
To begin you will need to login to Facebook Developer in order to create your Application. Once there click Apps to begin creating your Application.
STEP 2
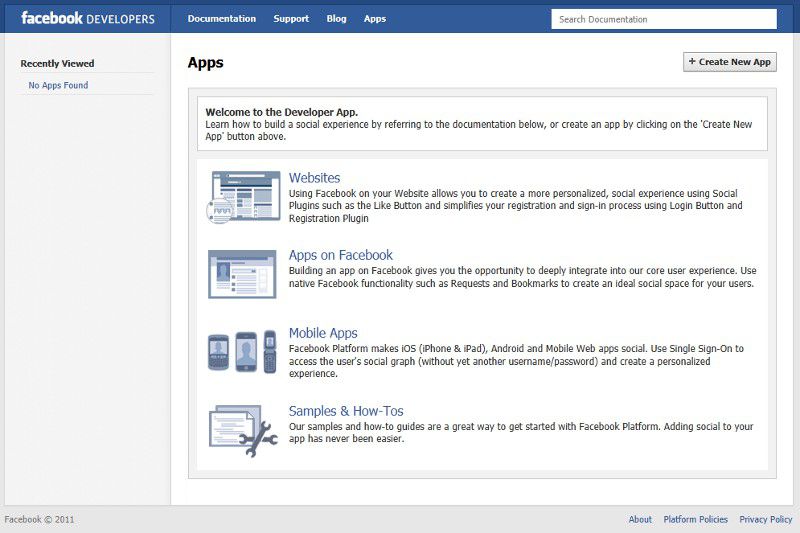
Once at Apps page you will need to click + Create New App to create your new Application.
STEP 3
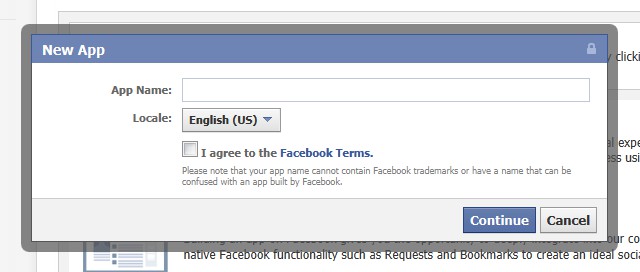
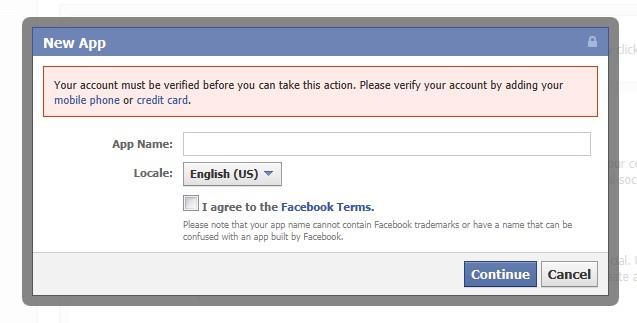
Once presented with the New App pop-up you will need to enter your Applications name (e.g. My Awesome CB Site!), you can completely ignore App Namespace as it is not needed, select your Applications default language, and agree to Facebook Terms (please read carefully) then click Continue.
STEP 4
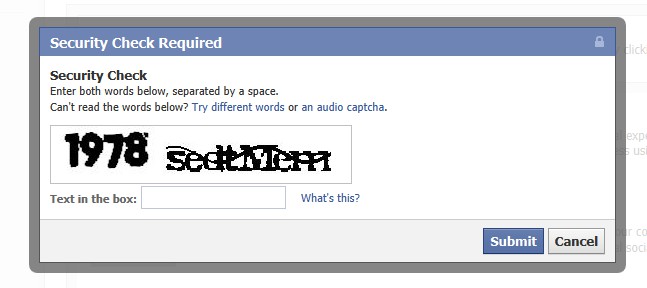
Once Continue is clicked you will need to input and complete the Security Check (captcha) to prevent spam then click Submit.
STEP 5
Once Submit is clicked and you have not yet verified your account you will need to follow the instructions for developer account verification. This step is only relevant if this is your first application.
STEP 6
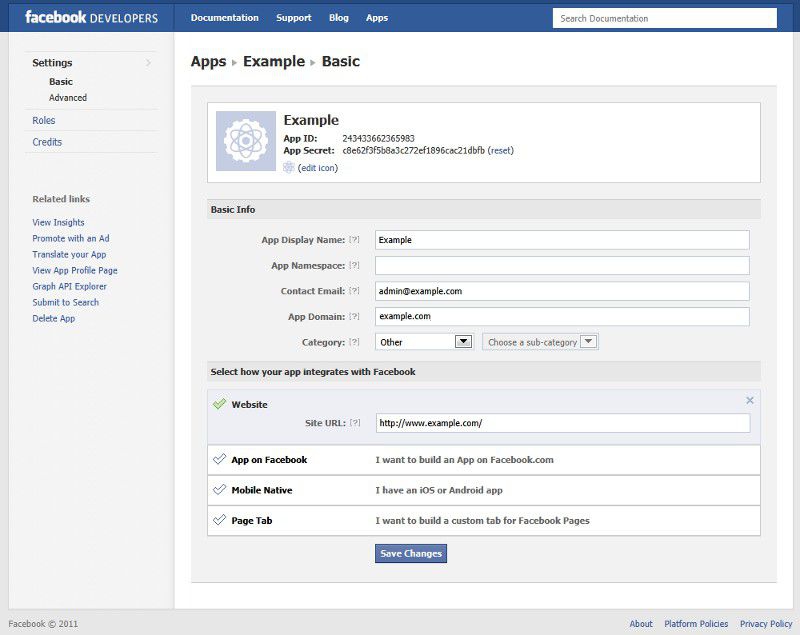
On the Application Settings page under Basic you will need to provide your App Domains (e.g. example.com) then clicking Website with Facebook Login under Select how your app integrates with Facebook will present an input to provide Site URL (e.g. http://www.example.com/) next ensure Sandbox Mode is set to Disabled now click Save Changes.
STEP 7
You will now notice your application has its own personalized IDs at the top of the page in order to perform API calls on your websites behalf. These IDs need to be respectively copied to your CB > Plugin Management > CB Connect > Configuration > Facebook > Application.

STEP 8
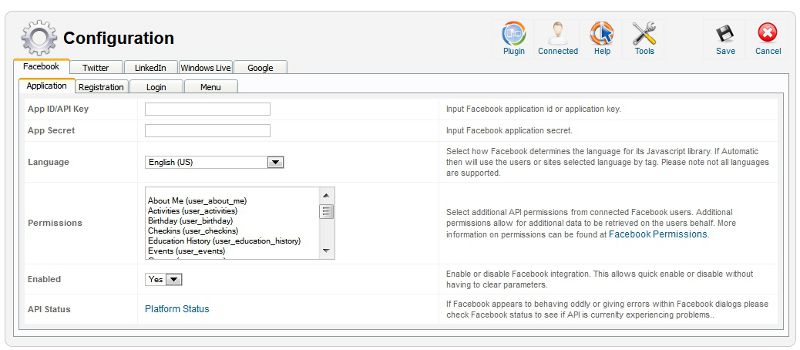
Simply copy and paste your unique IDs provided by applications settings page to their respective locations within CB > Plugin Management > CB Connect > Configuration > Facebook > Application and Save.
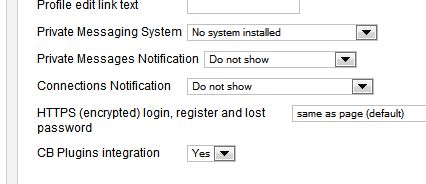
STEP 9
Now edit each CB Login module that should display connect buttons setting CB Plugins integration to Yes and Save. Congratulations you should now have Facebook integrated into your site!