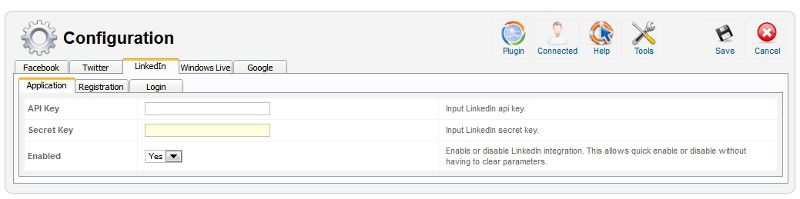
All URLs needed for this tutorial are provided within CB > Plugin Management > CB Connect > Configuration > LinkedIn > Application
STEP 1
To begin you will need to login to LinkedIn Developer in order to create your Application then hover over your user and click APIs.
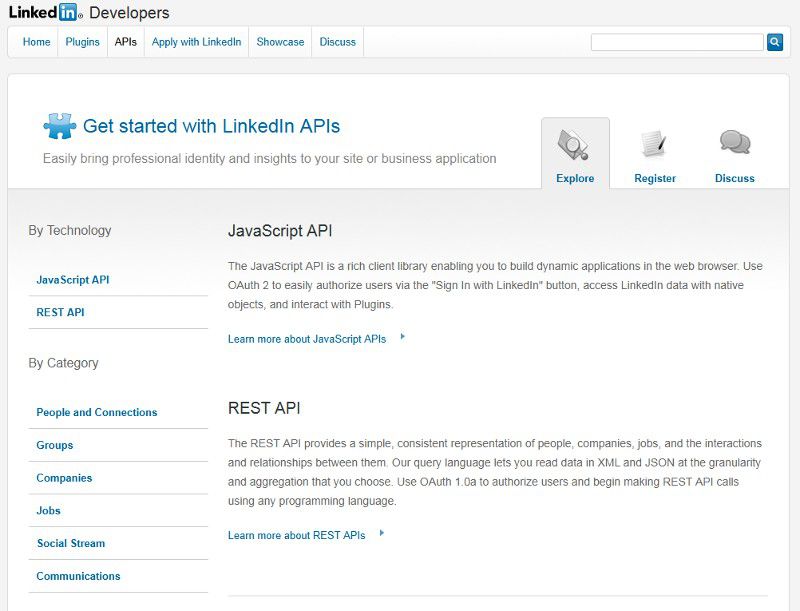
STEP 2
Once presented with the APIs page you will need to click Register.
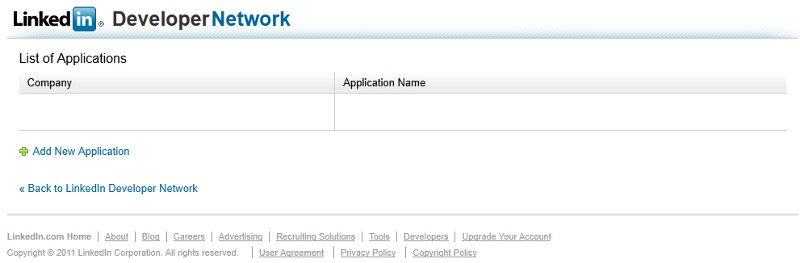
STEP 3
On the List of Applications page click Add New Application.
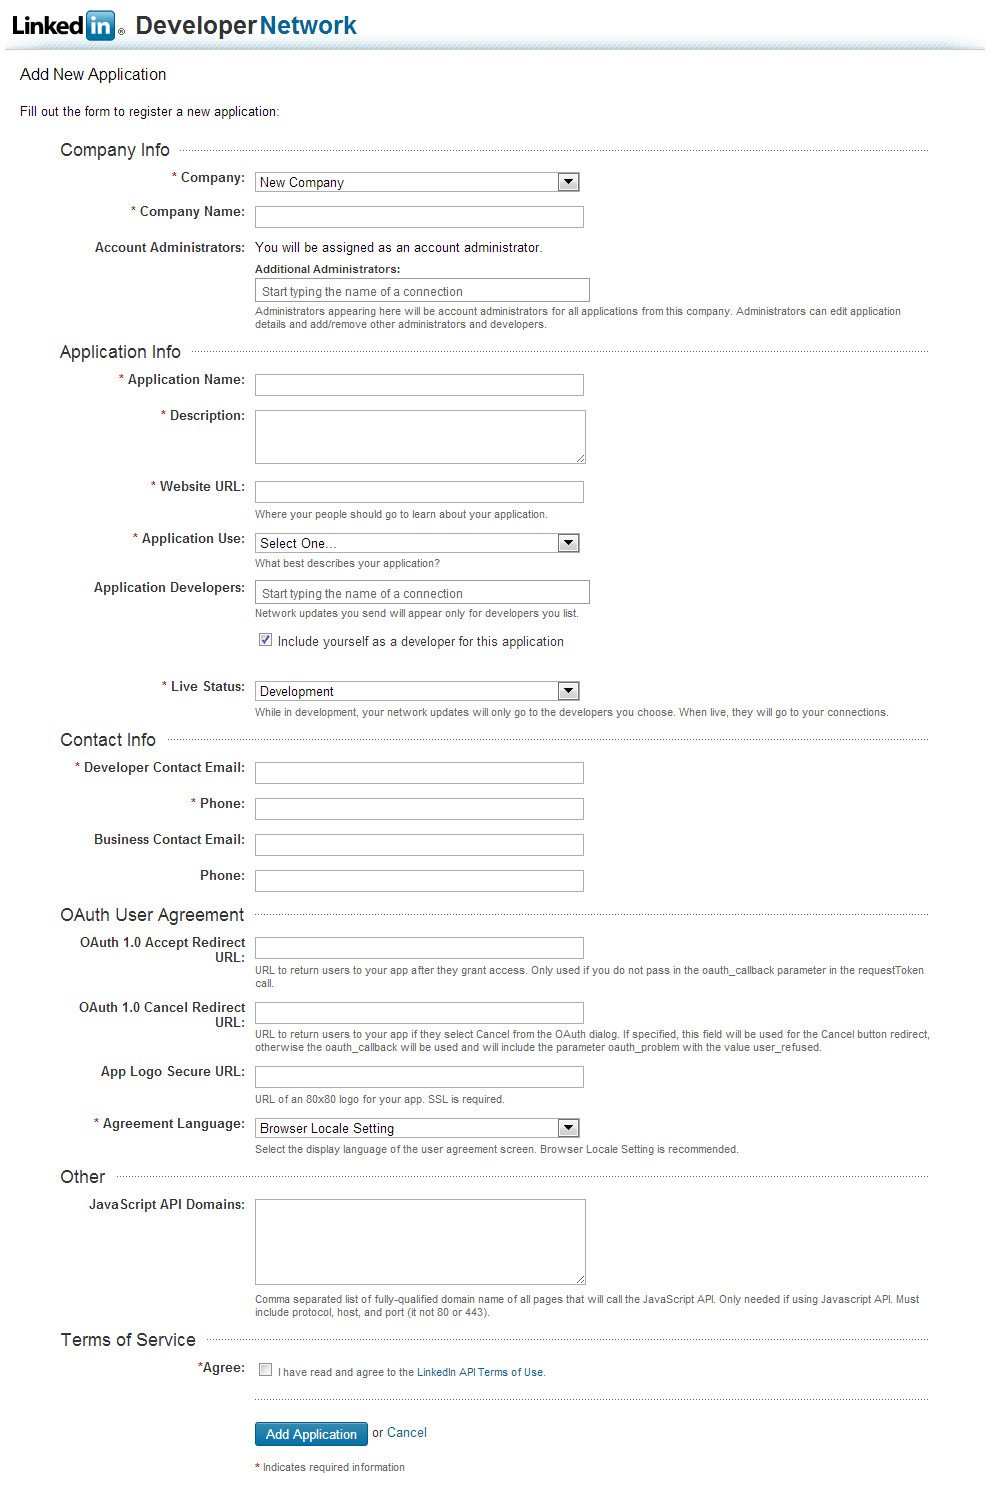
STEP 4
Once presented with the Add New Application page you will need to select a Company or create a new one, input Application Name (e.g. My Awesome CB Site!), Website URL (e.g. http://www.example.com/), Javascript API Domain (e.g. http://www.example.com), Application Use, Developer Contact Email & Phone, and agree to LinkedIns Term of Service then click Add Application.
STEP 5
Upon clicking Add Application after providing the necessary information you will be presented with your Applications Details page.
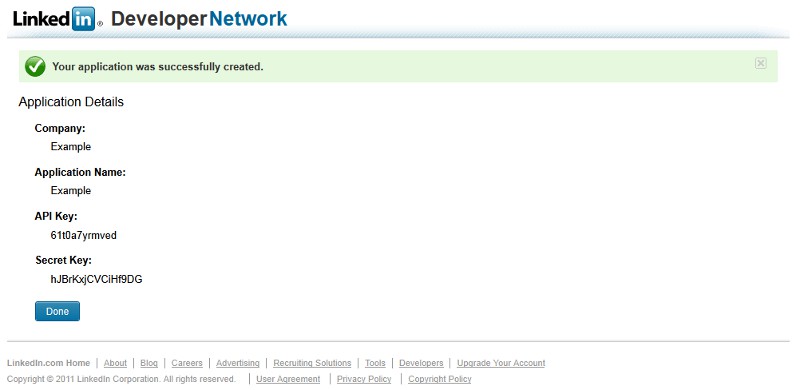
STEP 6
You will now notice your application has its own personalized IDs in order to perform API calls on your websites behalf. These IDs need to be respectively copied to your CB > Plugin Management > CB Connect > Configuration > LinkedIn > Application.
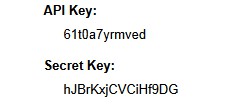
STEP 7
Simply copy and paste your unique IDs provided by your applications details page to their respective locations within CB > Plugin Management > CB Connect > Configuration > LinkedIn > Application and Save.
STEP 8
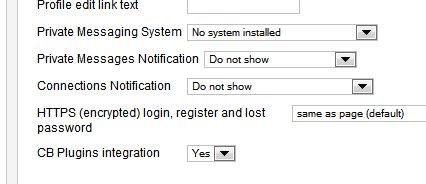
Now edit each CB Login module that should display connect buttons setting CB Plugins integration to Yes and Save. Congratulations you should now have LinkedIn integrated into your site!