All URLs needed for this tutorial are provided within CB > Plugin Management > CB Connect > Configuration > Instagram > Application
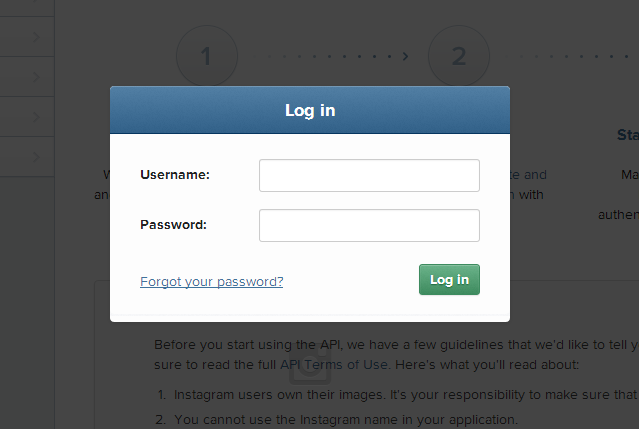
STEP 1
To begin you will need to login to Instagram Developer in order to create your Client.
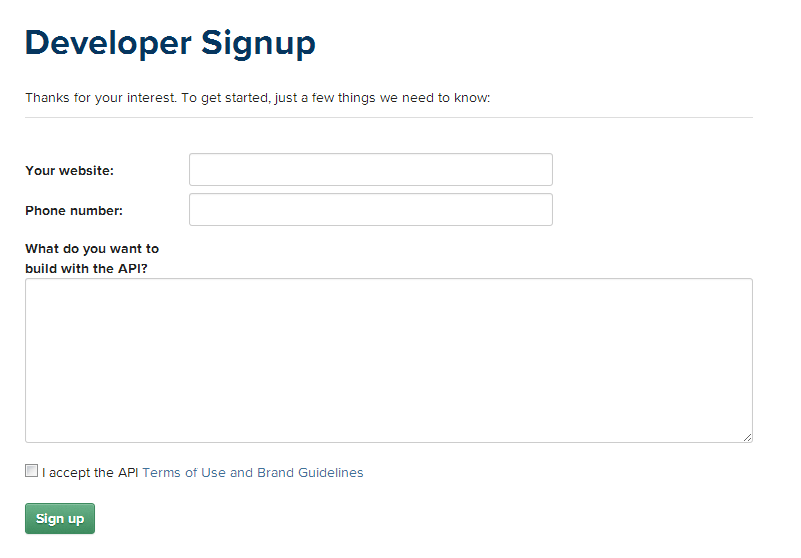
STEP 2
Once presented with the Developer Signup page you will need to input Your website (e.g. http://www.example.com/), Phone number, What do you want to build with the API, and agree to Instagram Terms of Use then click Sign up.
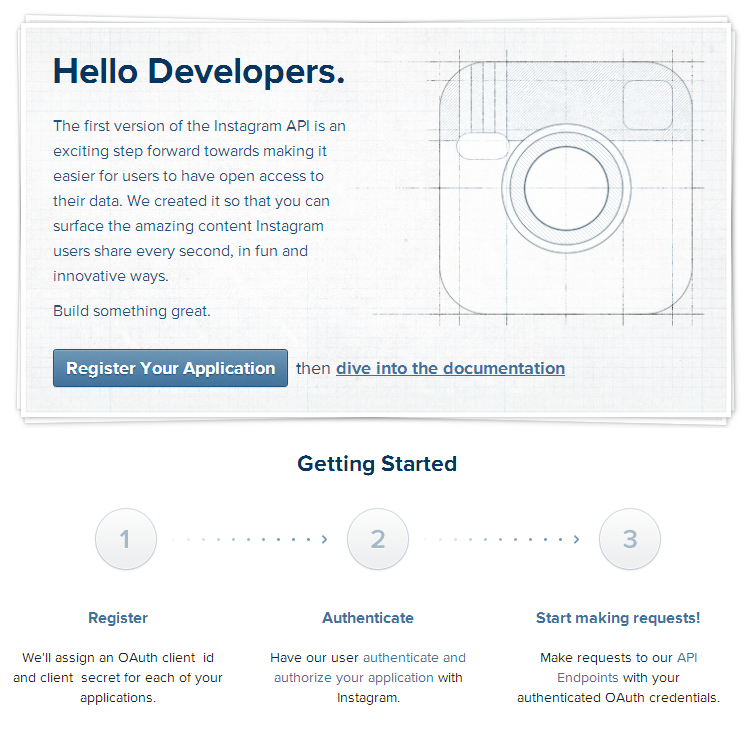
STEP 3
Once presented with the Instagram Developer page you will need to click Register Your Application.
STEP 4
Once presented with the Manage Clients page you will need to click Register a New Client.

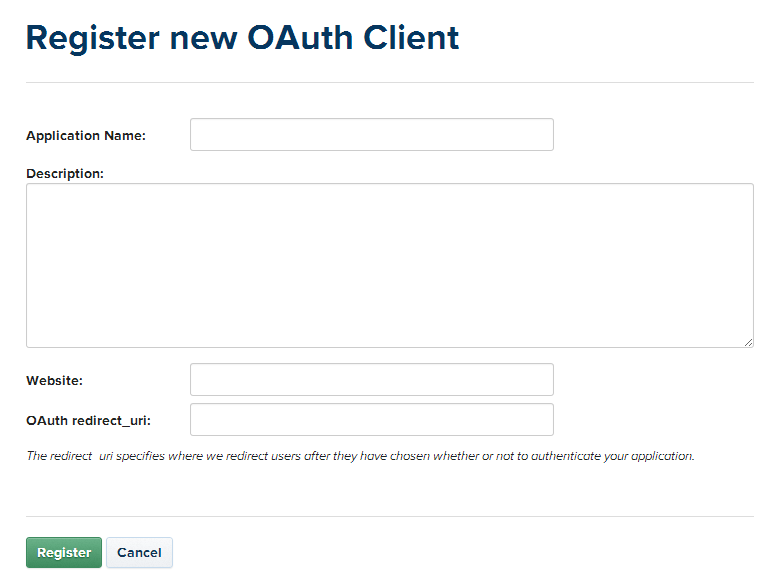
STEP 5
On the Register new OAuth Client page provide Application Name (e.g. My Awesome CB Site!), Website (e.g. http://www.example.com), and Redirect UI (e.g. http://www.example.com/index.php) then click Register.
STEP 6
Upon clicking Register after providing the necessary information you will be presented with your Client Info page.
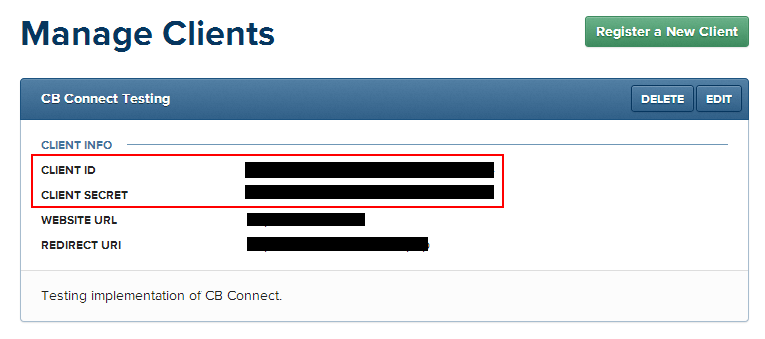
STEP 7
Simply copy and paste your unique IDs provided on your Manage Clients page to their respective locations within CB > Plugin Management > CB Connect > Configuration > Instagram > Application and Save.

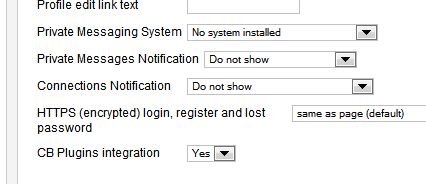
STEP 8
Now edit each CB Login module that should display connect buttons setting CB Plugins integration to Yes and Save. Congratulations you should now have Instagram integrated into your site!